Years back I had a quarter of venison in the freezer I didn't know what to do with then thought I'll try to make some jerky. Ever since my kids ask for it all the time and everyone really enjoys it. We really like the Terriyaki flavor so thats the predominant flavor in this recipe. This year i used a few more ingredients than normal but thats part of the experience...just try different ingredients for varying flavor profiles. This year I added cumin, paprika, thyme and A1 but only a dash or two of cumin and thyme. I've never been a measure type person...I solely go by flavor and tasting throughout the process but I'll try to give as close to measurements as possible for this thread. Making jerky is time consuming and depending on the quantity is pretty labor intensive as far as muscling and removing fat/silver skin but well worth it imo. I've heard to slice the meat with the grain but I've tried both. I really don't care...I make cuts to give me the largest slice possible and actually kind of prefer the shorter cut grain slices (little more "tender"). As you can see by the new "optional" ingredients I added this year you can really play around with the recipe. You'll notice I don't add salt because the Soy has plenty or at least the regular sodium one does. Also, I don't add any cure...that is so it can last a really long time but no matter the amount I make it seems to disappear quickly so no need. If you want to you can just add cure (pink salt) to this recipe and follow the directions on the package for the amount of meat your using.
You will need:Sharp knife (keep a sharpener handy so you can resharpen)
Cutting block
Large bowl or pot
Drying rack (just a rack with smaller openings or square so meat does not fall through)
Rack pan or foil (goes under the rack so the drippings don't fall into the oven or other racks drying underneath)
Plastic wrap or trash bag (to cover marinade bowl)
Ingredients: Venison rear quarter muscled out with fat and silver skin removed (obviously you can use beef also which I do sometimes)
Soy (regular not low sodium unless you like less salt)- 3 cups
Worcestershire - 1/2 cup
A1 - 1/3 cup (more if you like that tangy profile)
Terriyaki - entire bottle (about 11 ozs) I use a thick one from Kikkoman because it sticks better to the meat but any will do
Liquid smoke - 1.5 table spoons
Brown sugar - 1.5 cups
Crushed red pepper flakes - really depends on your liking (i used 4-5 table spoons but ended up adding more to the 2nd batch)
Onion powder - 3 table spoons
Garlic powder - 3 table spoons
Cayenne powder - 1 table spoon (again depends on your heat level. I was cautious for my kids lol)
Pepper - 2 table spoons (I use freshly ground but it doesn't matter)
Chili powder 1 table spoon (optional in my recipe)
Paprika - 2 table spoons(optional in my recipe)
Cumin - 1 or 2 dashes (optional in my recipe and strong flavor)
Thyme - 1 or 2 dashes (optional in my recipe)
To start I take the red pepper flakes and heat them up to extract more flavor then at the end while hot I add just enough water to get out all of the flakes and residual flavor/oils. I add it to a large pot/pan or whatever you have that will be large enough to hold the marinade and meat. I add all of the ingredients together and let the marinade sit for a few hours to let all the flavors "marry" in the fridge. Mean while I get to work on the quarter. Its important to get off all of the silver skin and fat deposits as that will not dry and will spoil with time plus the it will be unpleasant if you bite into a piece with fat.
Take the cleaned up meat and slice into roughly 1/4" slices. I like to freeze the meat and then put it into the fridge the night before so by the time I'm slicing its half way thawed. Makes slicing so much easier and you have more work time until you get it into the marinade and into the fridge. If you get a spot thats a little thick then take a glass or tenderizing hammer and flatten. Take out the marinade and I individually dip each piece in so I get complete coverage. I wrap the top with plastic wrap which is important so you don't stink up your fridge or dry out the pieces that are peaking through the liquid. I let them go for 24-48 hours. Depending on how much your doing 48 hrs is best. If your doing a lot then 24 hours is when I start the first batch and by the time I get to the last of it 48 hours has elapsed. This year I was impatient and dried a batch after only about a 7-8 hr soak and it came out good. I actually added more red pepper flakes and salt because I thought it needed it. For that I layered the slices on the drying rack and then sprinkled both on one side. I used both the electric smoker and oven. I prefer the oven because it gets a much more even result. My ovens lowest setting is 170 so I prop the door open just slightly and this also helps with the moisture evaporation. In my smoker I go about 162 or so but you might have to play with the temp setting to actually get that actual reading. I had it at 170 one night to get it to read 163. Depends on how cold it is outside. That temp is important because I want to get the meat to at least 160 for safety concerns. You can go higher temps for faster results but then you are cooking the meat not drying it which will result in a different texture and flavor. It will go for roughly 5-7 hrs and sometimes more. After 3 hrs I take out the rack and flip the slices to give me even drying. for best results its important that after the 4-5 hrs mark you check on the jerky for color and dryness. The smaller or thinner slices obviously will dry faster so I put those in the middle of the tray. I want them stiff but not super dry. I want to pick up and not get any bend but not so dry its like eating a meat cracker lol. You can play with that part as well to find the texture you like.
Important....when its to the point you like remove from the oven and the drying rack asap. Lay the pieces out individually so they can cool down. If you lay them in a pile or on top of one another that can create moisture condensation...no bueno. If a piece needs just a little bit more drying but is almost there then I'll lay them out and turn on the cieling fan. That does a lot more to help in the drying process than one would think! After wards I buy the brown paper lunch sacks from a dollar store or somewhere and place servings inside them. It needs to be paper sack though! Plastic can and does create condensation and that is not good.
***Its important not to stuff the oven or smoker with to many racks of meat. That will create to much evaporation and moisture in the air and result in slower drying time and may ruin your end result. In the oven I go with 1 rack and smoker I go with two but roughly same amount.


I forgot to take a pic as soon as I layered. I had this in the oven for about 10 minutes before I realized lol. Thats why they look a little more brown.

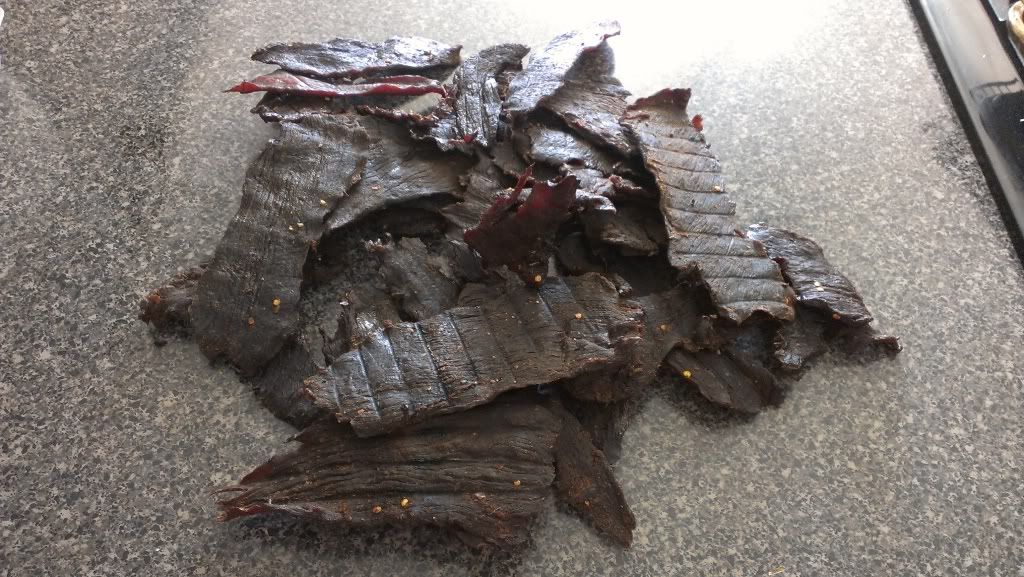
End result and 1st batch (I made approximately 10-12 racks
AND THE MOST IMPORTANT PART. Always have your drink ready


![[Linked Image]](http://i.imgur.com/V3IFqfZ.png)


![[Linked Image]](https://i.imgur.com/0x2NHWJ.gif)


![[Linked Image]](https://texashuntingforum.com/forum/pics/userpics/2022/03/full-3050-341110-boat_sig_2022.png)